Project milk churn begins…
A step by step guide to help restore an old milk churn back to its former glory.
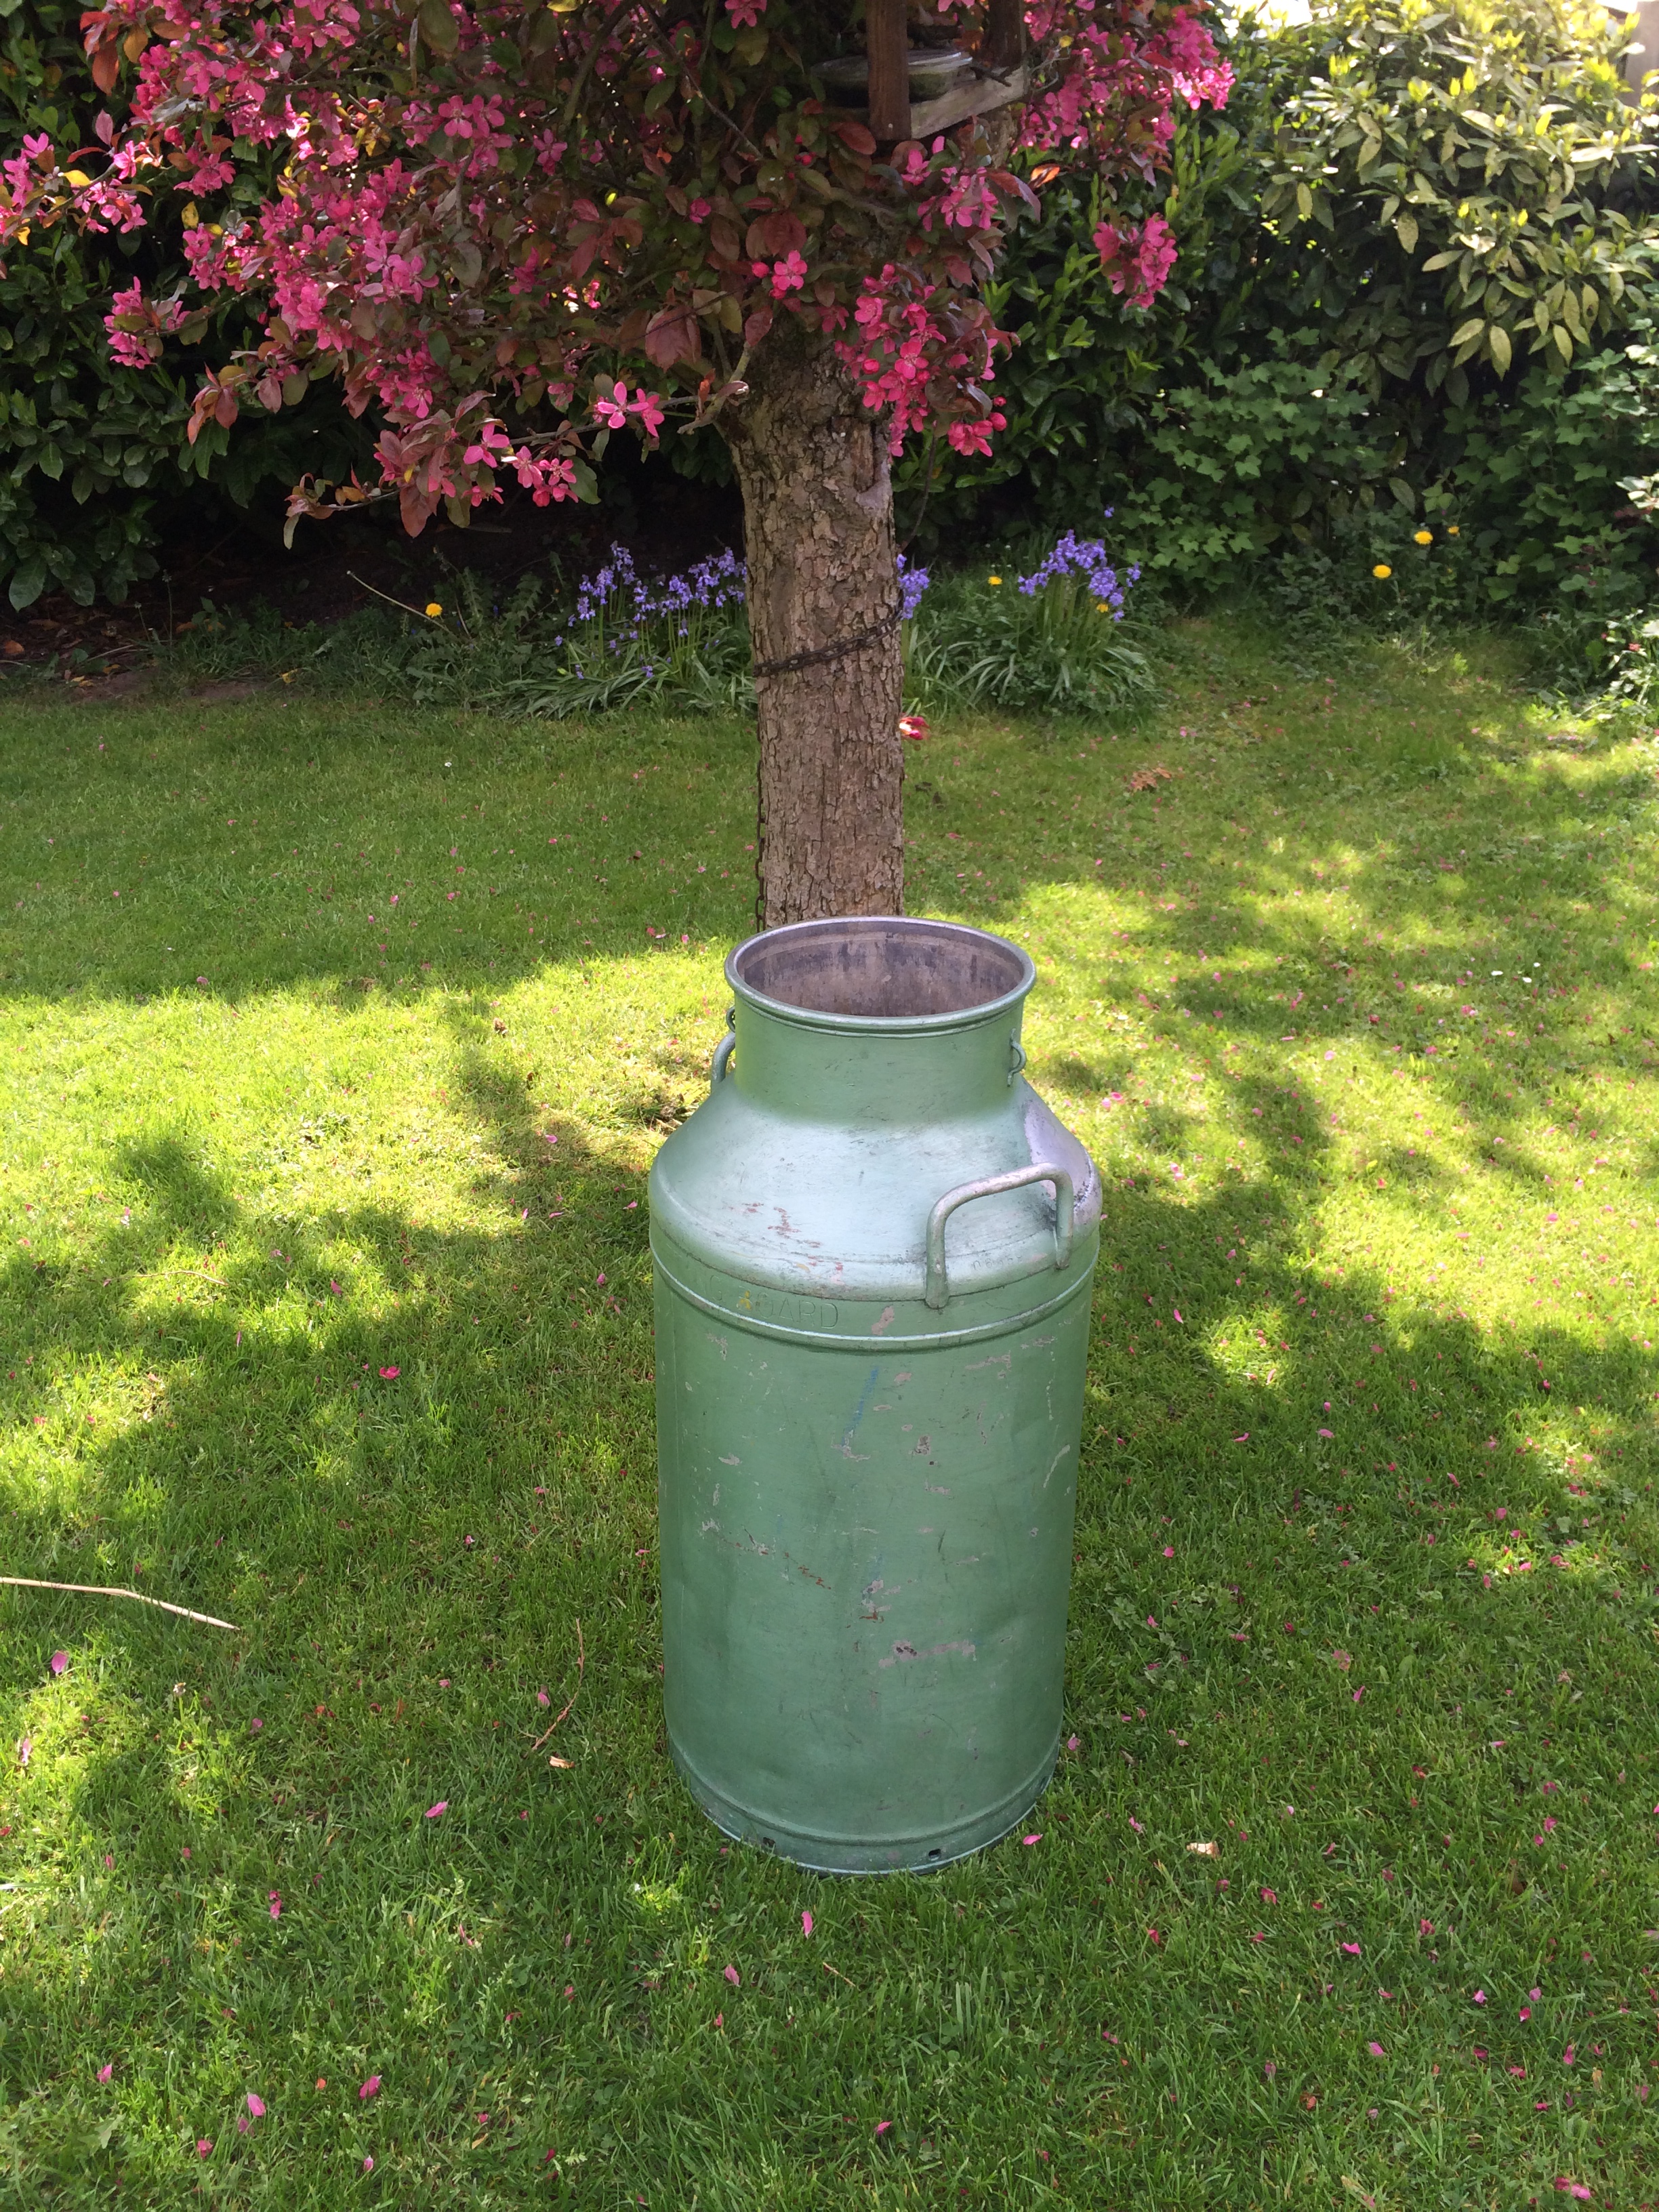
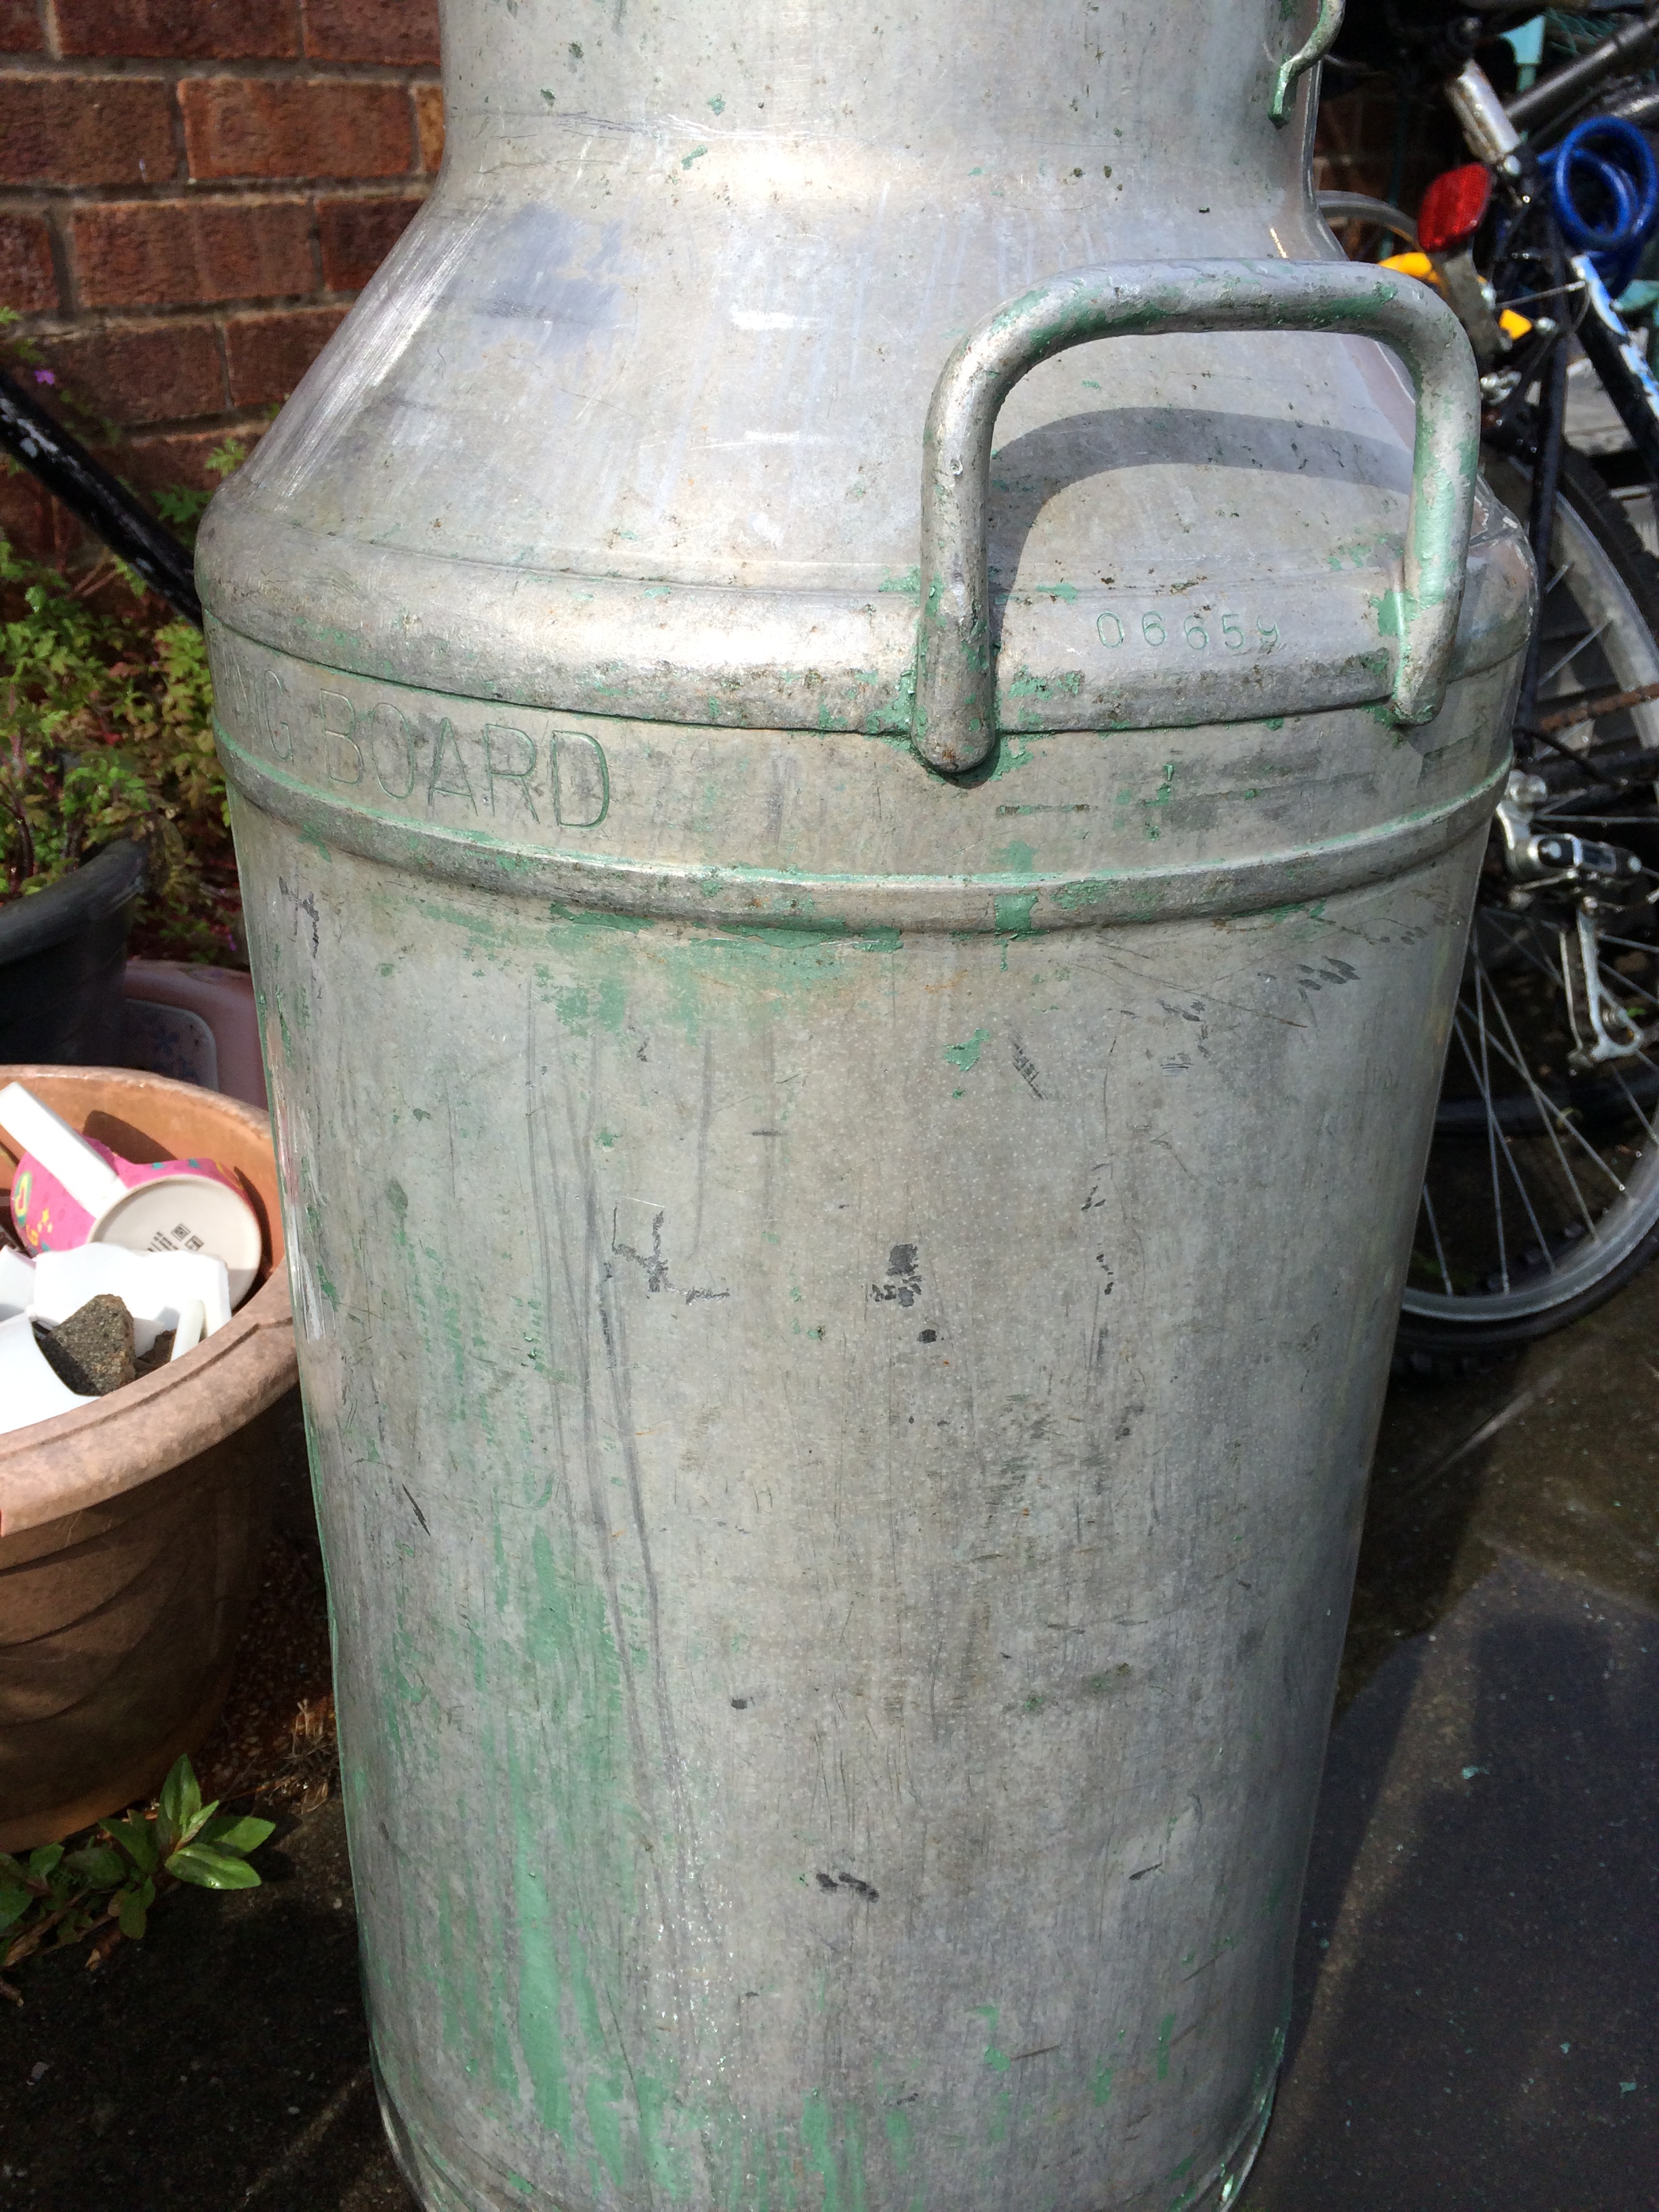
Over the last few days and with the help of my Dad, I managed to track down 3 milk churns, finally! Two were in quite a sorry state which you can see on my twitter feed, covered in rust and until a good bash with the hammer had lids that would not budge. Today we dropped these off at a local industrial unit where they will be sandblasted and possibly lacquered, which should help protect them from future rusting and allow them to be used outside. Catch up in the next few days to see how they turned out. The third lovely churn has been painted a shade of green that was actually rather lovely and much easier to remove than rust, I have seen some on Pinterest painted in pastel shades and loved them, but I am after that rustic feel and want them just as they were when they were hurtled around the dairy farms over 30 years ago!
Preparation
Like most DIY activities, preparation is key! Make sure you give the milk churn a good wipe down and ensure any grime and dirt is removed as this will help the paint stripper do its job most effectively. Nitro Mors is the brand of paint removal that I usually use, especially when working with metal but there are many own brands available that do the job just as well. It is vital to remember that paint stripper is a fantastic but powerful liquid and can be absorbed readily through the skin or inhaled easily and can cause irritation! When using it I ensure I am working in a well ventilated (preferably outdoor) area, have gloves to wear throughout use, wear old clothing and you may want protection for your eyes.
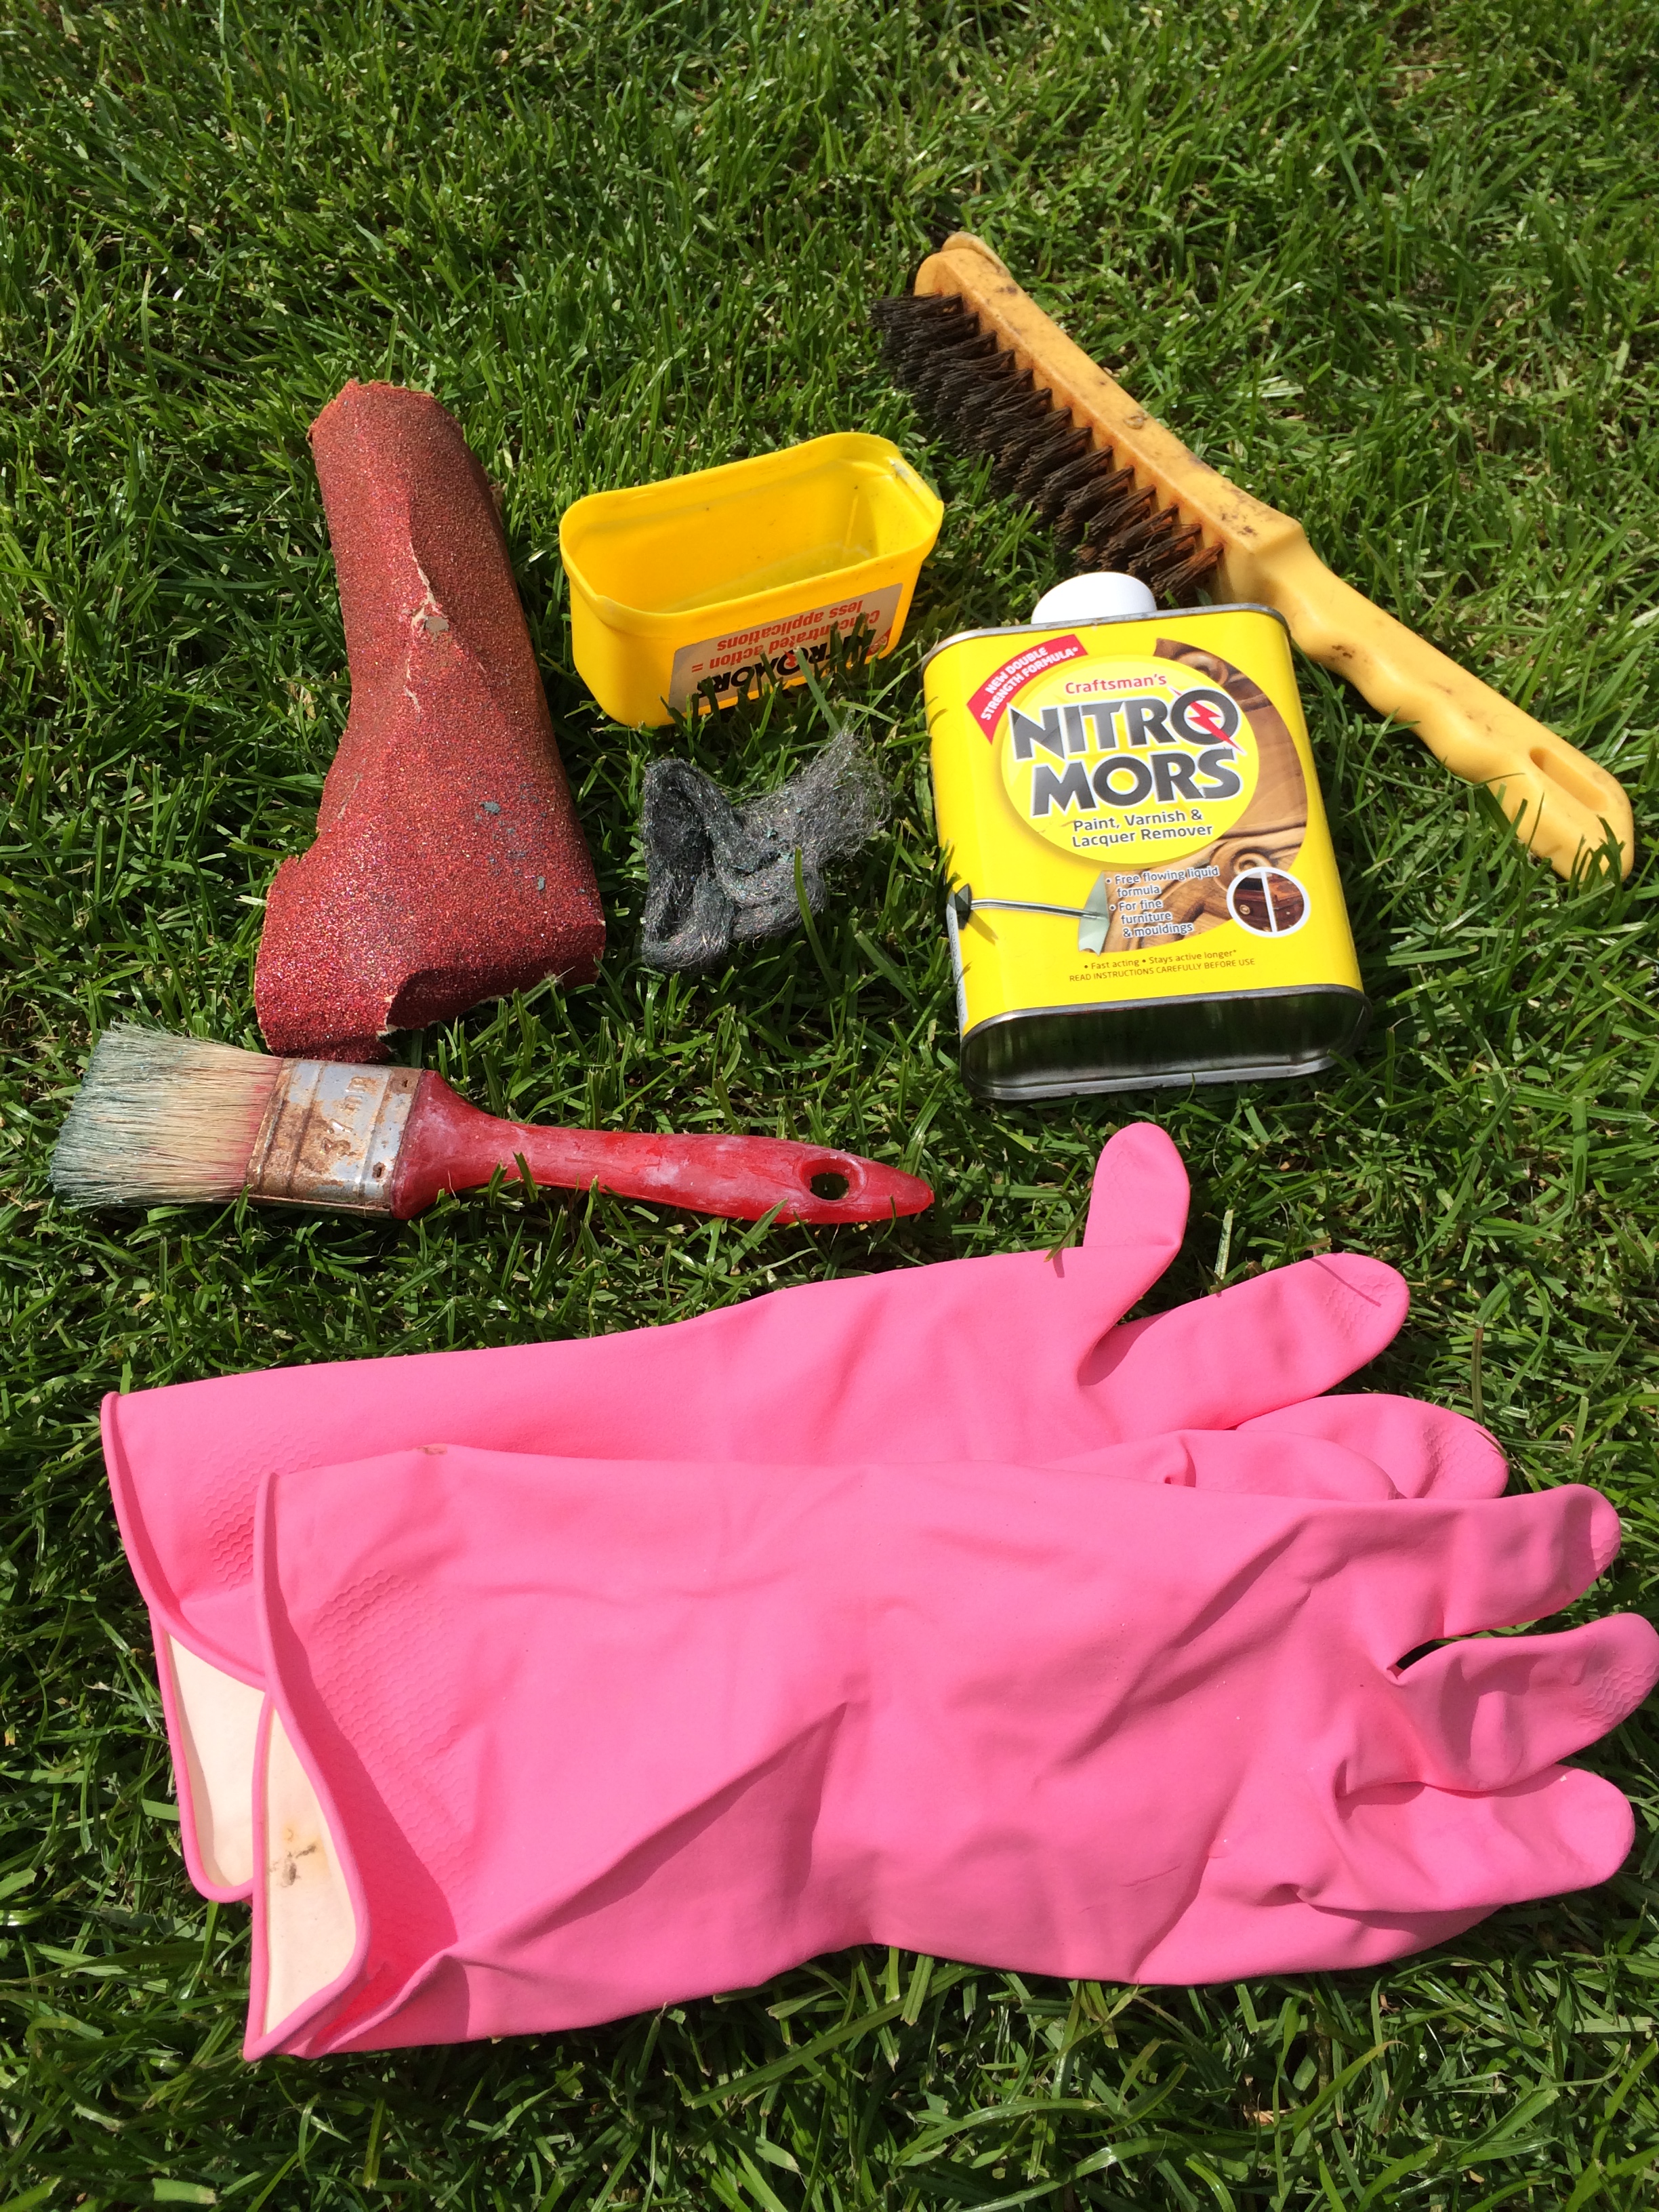
Loose wire wool can be purchased from all good DIY shops and will be your best friend throughout this process, there are also a million other uses around the house for this so don’t worry about buying a large bag. All paint strippers vary the times they suggest leaving on the liquid but I find that playing around with this a little is fine, I know how eager you will be to get down to that lovely silver shade! I painted on a first coat and left it for around 30 minutes, already you will see paint starting to peel away 🙂

Using a rough sponge at this stage will remove a substantial amount of paint quite quickly, to help it along dip the sponge into warm soapy water. You may need to repeat this process once more to remove the majority of the paint but you will see the milk churn coming back to life!
Once most of the paint has been stripped away it is time to change tact, the wire wool comes into its own now and will help shift tricky corners or edges. I would normally recommend a toothbrush with fiddly bits like this but you need something that will scrape away the paint, (DO NOT use green scour pads as these are too harsh and will scratch the metal) with a little elbow grease and small bits of wire wool it becomes a much easier job! Continue to dip the wire wool into the soapy water and keep spraying down so you can see your progress. Remember, there are no set rules when using paint stripper, if you have parts that are a little tricker to remove, apply a little more to the area and leave again to do its magic.
Now all you have to do is decide which gorgeous flowers you would like to complete your rustic milk churn, below is my main inspiration but Pinterest has many lovely ideas.

And don’t forget, organise some VIPs on the day to do the moving, hmmmmm who could that be?

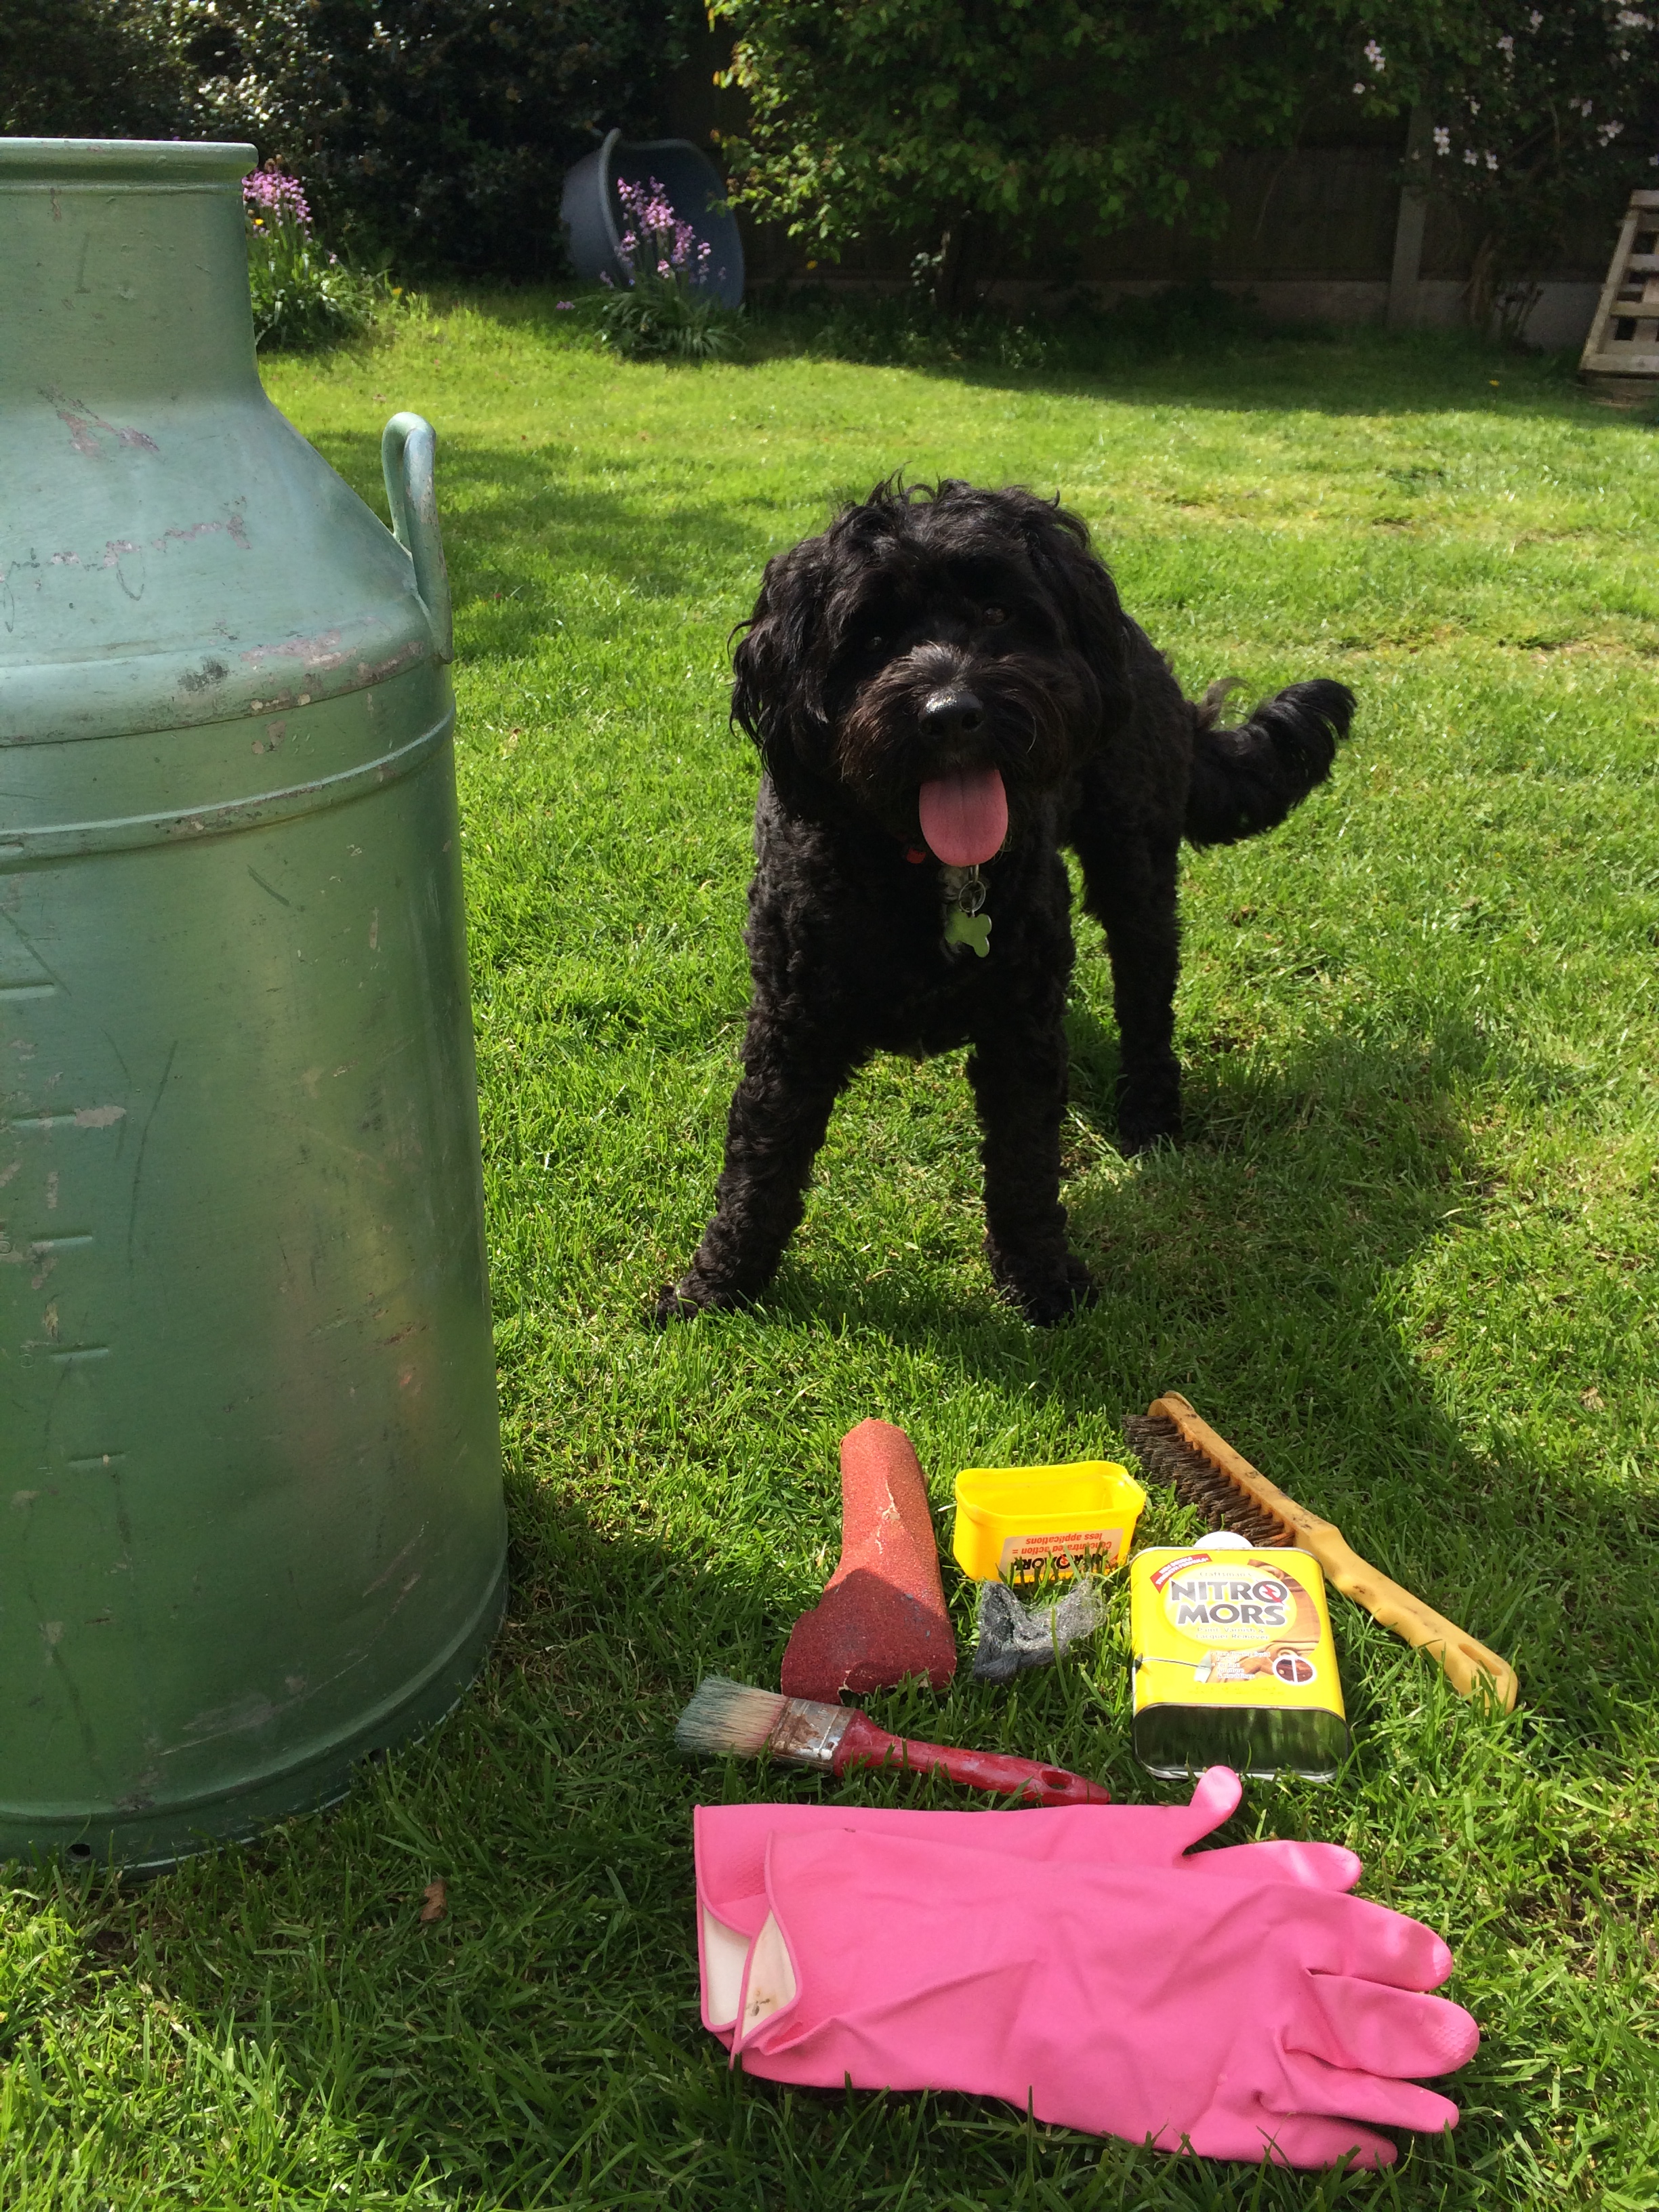
P.S Nelly loved been out in the sunshine having a nosey at what was going on!
Don’t be daunted, it does need a little elbow grease but it is worth every minute to see the milk churn return to its original state, a few marks and scratches only add to the charm too! I can’t wait to share pictures from them on the day, only 9? days to go! NellyNora x
